by Screens PeoPle
Share
by Screens PeoPle
Share
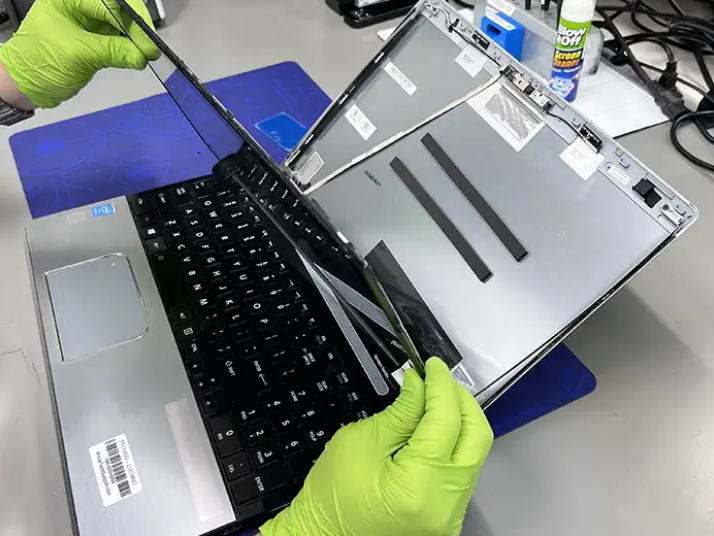
You find the exact replacement part number for your screen by checking the device exterior label, using manufacturer lookup tools, and physically inspecting the installed panel. Owners of laptops and other devices often face screen replacement issues these days.
A new screen may have the wrong size for the device frame, which can prevent proper installation, or it may fail to produce an image due to bad connections. Both problems arise when the part number does not match the original exactly.
You prevent these problems by finding the code on your current screen panel through a series of simple checks. This code gives the details you need to find a matching replacement screen and helps you restore the device to normal use.
Step 1: Collect Identification Information from the Device Exterior
You start by checking the exterior of your device for factory labels and stickers. Most laptops carry a sticker on the bottom or in the battery compartment area. This sticker lists the manufacturer, the complete model number, and a serial number or service tag for your specific unit.
- Write down all this information, since it helps with parts system searches later.
- The model number shows the overall device setup and features for your laptop model.
- The serial number points to your specific unit and its original component specifications.
- If the label is worn or unreadable, check the device documents for the data or use system tools in the operating system to get the same info.
This step gives a good starting point that narrows options before more detailed checks begin.
Step 2: Use Manufacturer-Supported Lookup Systems
Device makers keep full records of every component in their products and systems, and they make all this data accessible through online support tools for quick use.
- Visit the official website of your device brand to start the lookup process.
- Go to the parts or support section on that site for more help.
- Enter the model or serial number into the search box on the page.
- Review the results to find the right part number for the screen, along with key details like the original resolution and the interface type used.
This method handles different screen options for the same device model very well, and it works even when prior repairs have changed the installed panel. The process often shows multiple screen options for your model on the site, so you compare the listed specs against your known device features and configuration to find the right match.
Step 3: Conduct a Physical Inspection of the Installed Screen
Direct checks on the screen panel give the most reliable code for your device, since this shows the actual part in use rather than the factory default option.
- Power off the device completely before any removal work begins.
- Disconnect the charger from the wall and remove the battery if possible.
- Pick a well-lit workspace and gather small tools that fit the bezel fasteners on your device model.
- Release the bezel by removing screws or prying clips with great care, keeping track of the order and location of each part for reassembly later.
- Once the panel comes off the lid, turn it over to see the back and look for the label or printed text on the rear surface.
- Write down the full string of the code for later use and photograph the area to keep a permanent record of all the details.
This marking has the screen part number as a string of characters and numbers — it starts with a manufacturer code and shows the screen size and other details. The inspection needs patience and care to avoid damage to the panel or parts, so handle the panel gently by the edges to protect it during handling.
Step 4: Verify All Relevant Technical Attributes
A part number points to screens with matching main features for your device model, but you do more checks to confirm full compatibility with all your device needs.
- Measure the diagonal distance across the active display area to establish the exact size requirement.
- Review the resolution in your device display settings and make sure the replacement supports the same pixel arrangement as the old one.
- Examine the video cable connector on the original panel to see the pins.
- Note if the screen has touch-sensing layers or any special surface finishes.
- Consider the backlight type, since it affects power draw and brightness adjustment in the device system.
These attributes combine with the part number to make a full profile that you match against the candidate replacements you find for the screen. Alignment of all these elements ensures the new screen fits the space well, connects without any adapters, and works with the existing display controller properly.
Step 5: Account for Differences from the Original Factory Configuration
Screens from earlier repairs may have different part numbers than the original list, so the lookup from model or serial data may suggest a different number than the label.
- Treat the number from physical inspection as the main reference in these cases, since it describes the hardware that is actually present in the device at this time.
- Search for replacements using this observed number from the panel inspection process.
- Confirm the unit shares the same size and resolution as the existing screen.
- Check the connection features to keep performance consistent with the old screen.
This attention to the installed hardware stops you from picking a part that looks good on paper but fails to integrate well.
Step 6: Source the Replacement Screen
The confirmed part number lets you search supplier inventories with good precision.
- Enter the code into search fields on reputable parts sites to get results.
- Evaluate the results to confirm each listing has the exact same identification string.
- Check if the offering includes needed items like mounting brackets or signal cables.
- Compare prices and seller ratings to get a quality component that meets your expectations for durability and good performance over time.
This careful selection supports an efficient installation of the new screen part and reduces the chance of further complications during the repair process.
Final Thoughts
Finding the exact part number is a key step that makes the repair successful. It turns an uncertain repair into a straightforward and successful project in the end. You now understand the methods that give accurate results for your screen repairs, and you can apply them to your specific situation with greater assurance and good results.
When the time comes, you can locate suitable choices through Screens People in their laptop LCD screen section.
STAY IN THE LOOP
Subscribe to our free newsletter.
Leave A Comment

Vertical or horizontal lines on a laptop screen happen when [...]

Replacing a laptop screen yourself can be easy or difficult [...]

A 4K screen can be worth it on some 13-inch [...]
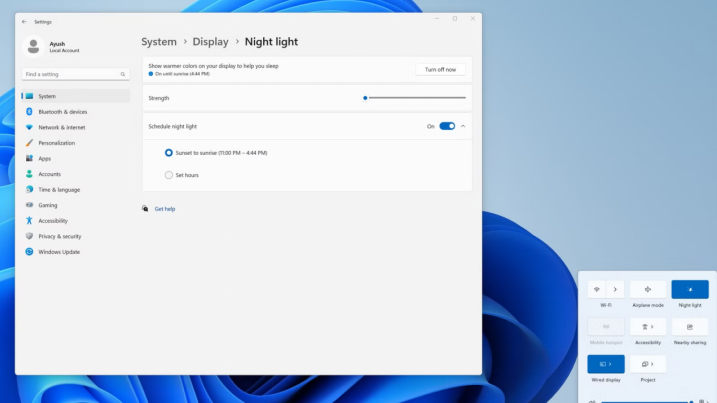
You can enable Night Light or blue light filters in [...]